Use the arrows or swipe left to view all images for this product
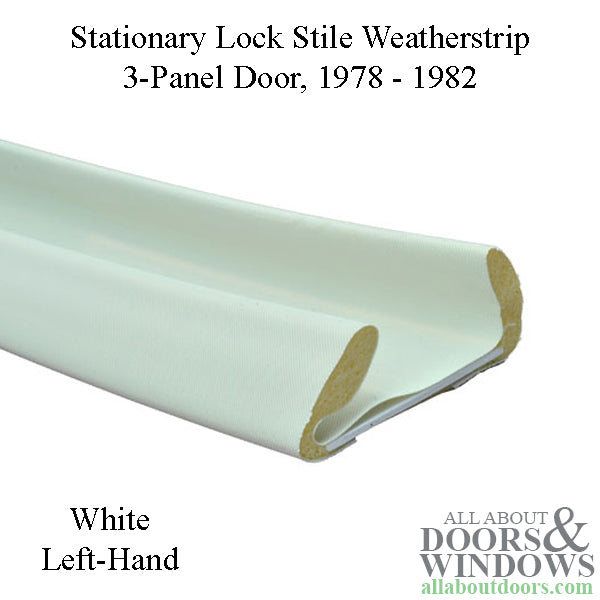
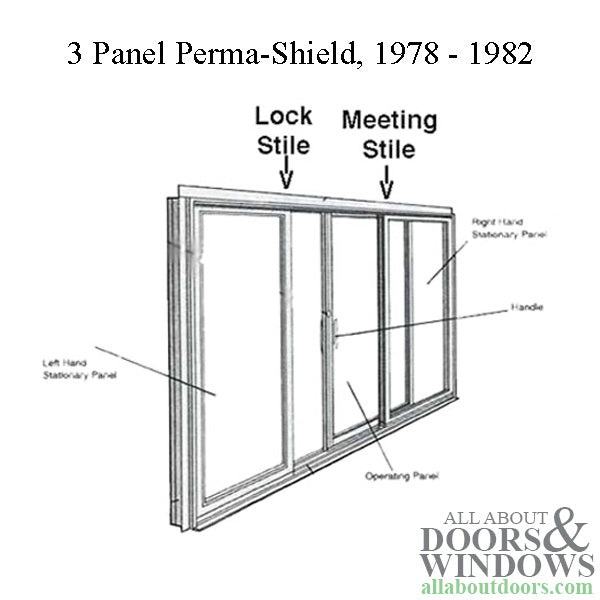
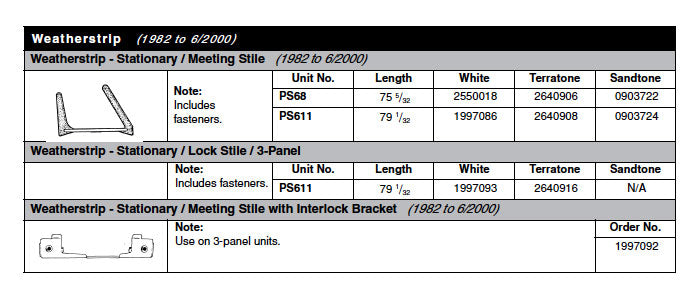
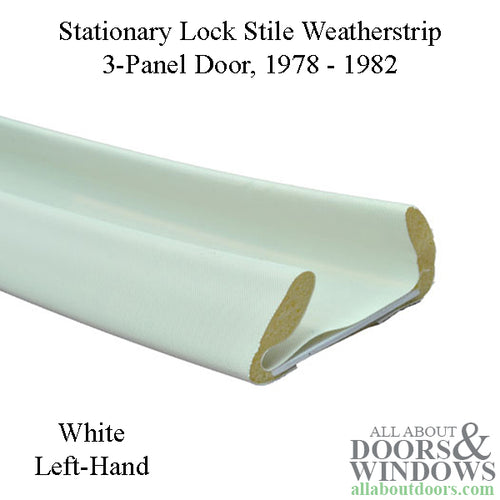
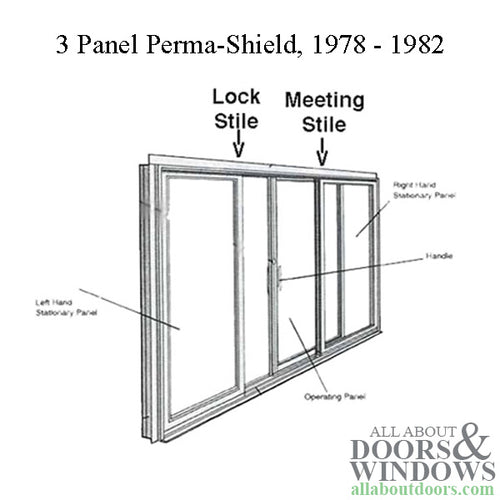
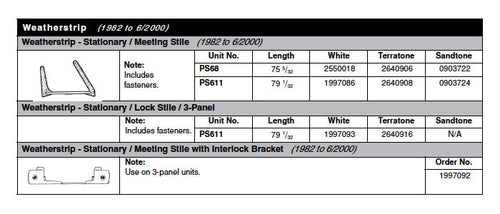
Lock stile weatherstrip for left-hand stationary panel of 6'8" 3-panel Perma-Shield Gliding Patio Doors manufactured 1978 to 1982.
Weatherstrip Length: 79-1/32"
Cutout for Lock: 6-1/16"
Related Parts:
1997085 - Meeting Panel Interlock, Operating Door (Rigid) - White
1997086 - Meeting Panel Interlock, Stationary Door (Foam) - White
1997092 - Bracket for Weather strip 3 panel Stationary Interlock - Stone
1997095 - Operating Panel (w/ lock cut out ) Lock Stile, Weather-strip - White
Basic Installation Instructions:
1. Mark where the cut outs are located on current door.
2. Check you have the correct weatherstrip, both lengths and cut outs match.
3. Remove old weatherstrip - most older doors had staples and some had a contact cement holding weatherstrip tight to door panel. You may need to pull and scrap to remove.
4. Clean surface.
5. Apply Vinyl to Vinyl adhesive 1357007, and allow to air dry for a few minutes.
6. Start at the lock cutout and work the weatherstrip outward, being sure the cut out is in the proper place.
7. Attached with staples or small tacks.
For more information, please read article: Identify Your Andersen Weatherstrip or download a Worksheet in PDF format to help you decipher which door you have.
Add to Card


